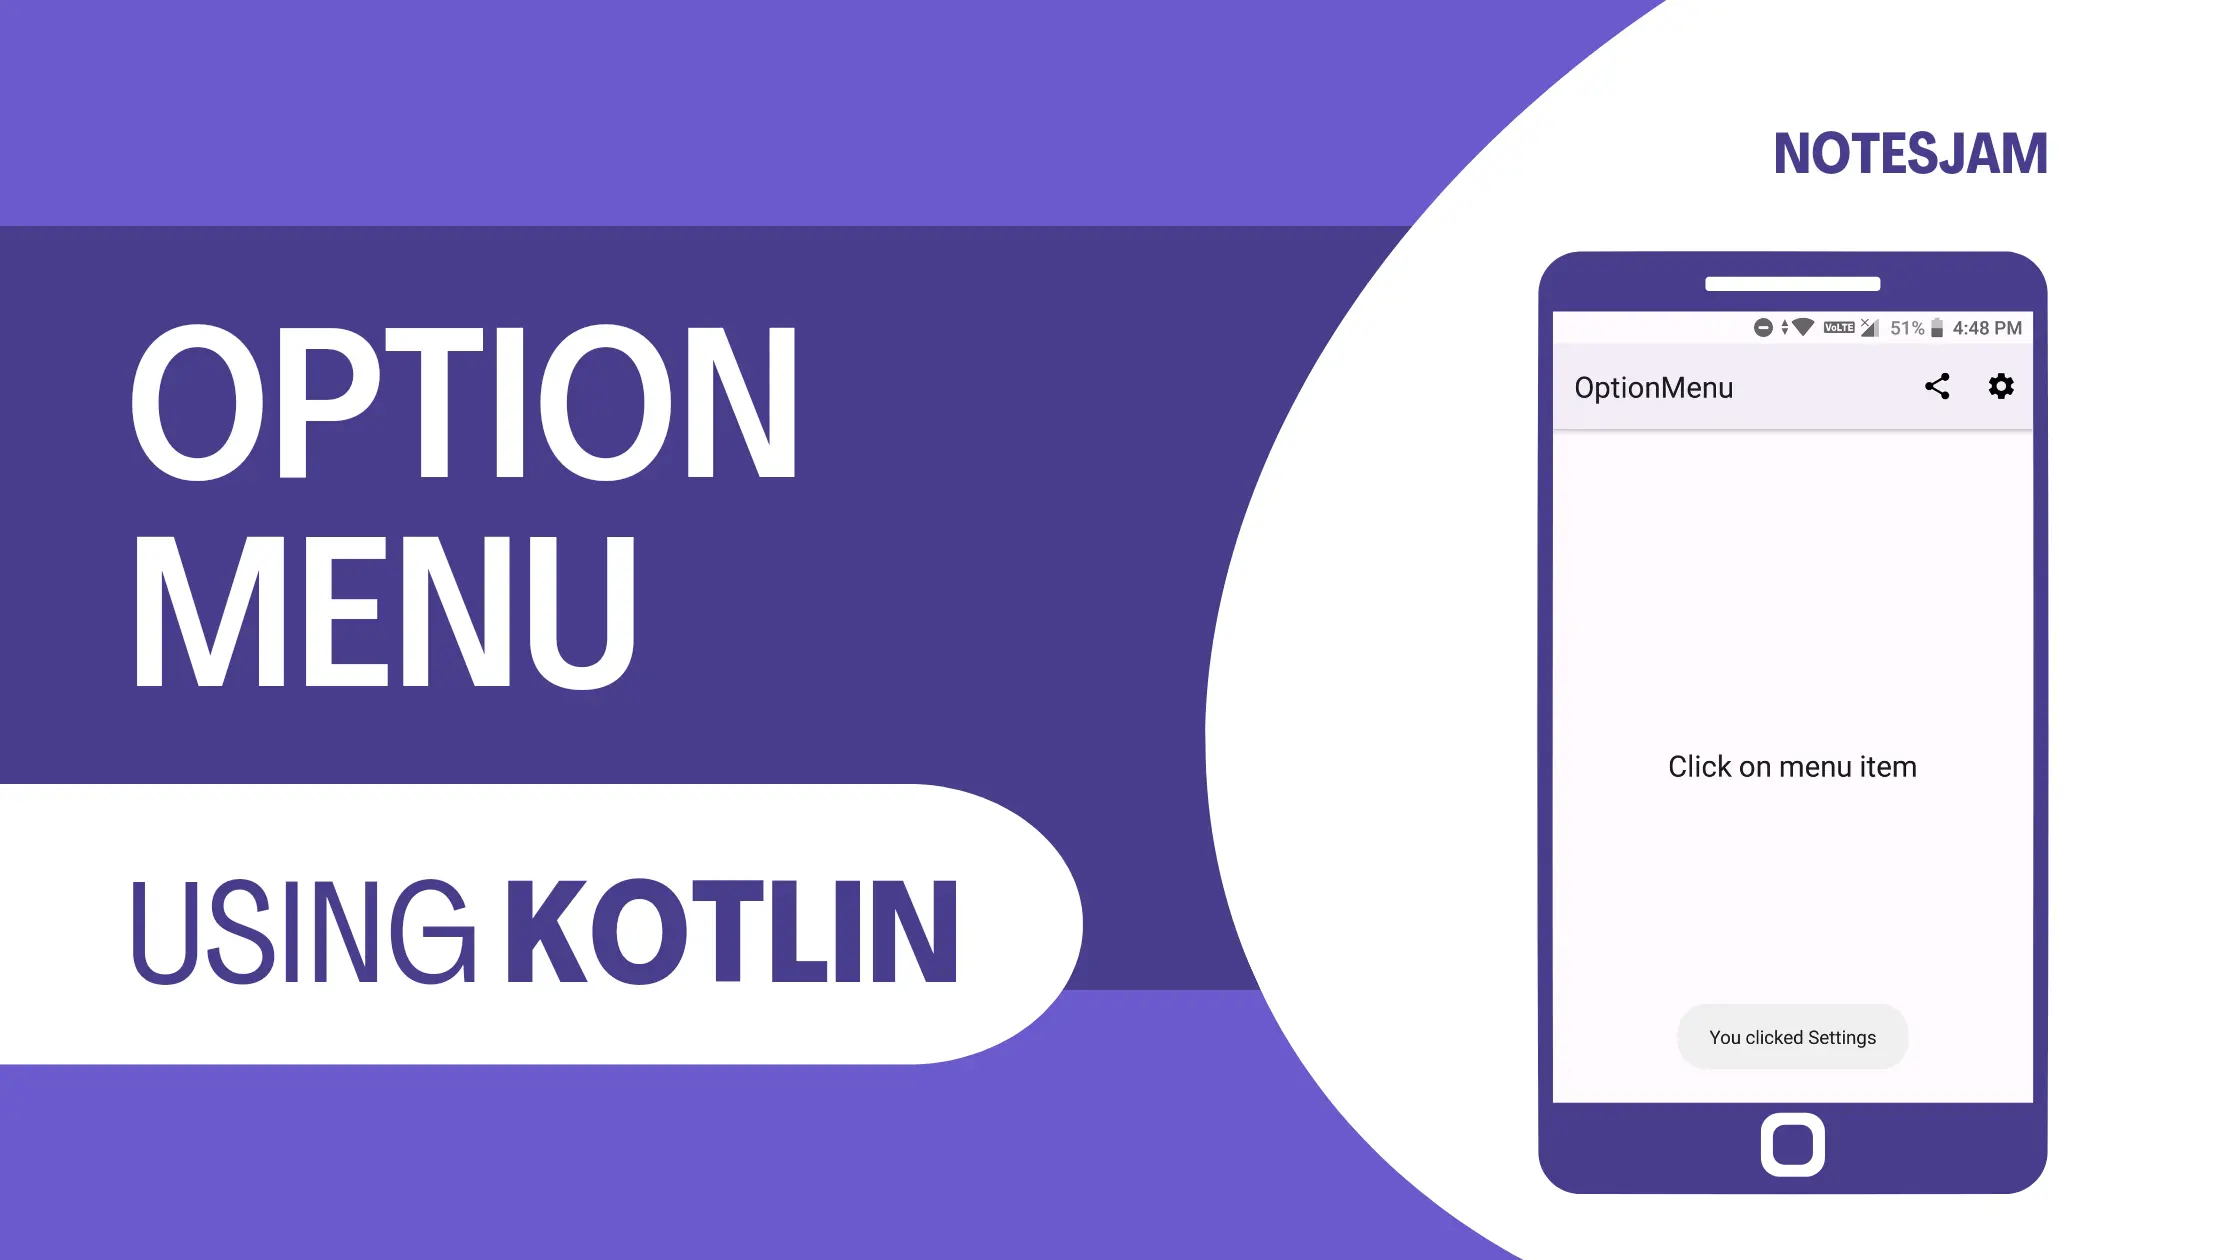
Creating an option menu in an Android app can be a great way to provide users with easy access to various functions and actions.
In this blog, we will walk you through the process of creating an option menu in Android using Kotlin with an example.
Table of Content
Create a New Project
The first step is to create a new project in Android Studio. You can choose an empty activity or any other activity depending on your needs.
How to Create a New Project in Android Studio
Define Menu Items
Next, you need to define the menu items that you want to display in your option menu. To do this, you will create a new XML file in the res/menu directory in your project.
In this example, we will create two menu items – Share and Settings. Here is the code for the menu_options.xml file:
<?xml version="1.0" encoding="utf-8"?>
<menu xmlns:android="http://schemas.android.com/apk/res/android"
    xmlns:app="http://schemas.android.com/apk/res-auto">

    <item
        android:id="@+id/action_share"
        android:icon="@drawable/baseline_share_24"
        android:title="Share"
        app:showAsAction="ifRoom" />
    <item
        android:id="@+id/action_settings"
        android:icon="@drawable/baseline_settings_24"
        android:title="Settings"
        app:showAsAction="ifRoom" />
</menu>
In this code, we have defined two menu items with their IDs, titles, icons, and showAsAction attributes. The showAsAction attribute determines whether the item should be shown as an action button or in the overflow menu.
Inflate the Option Menu
Once you have defined the menu items, you need to inflate the options menu in your activity. To do this, you need to override the onCreateOptionsMenu() method in your activity:
override fun onCreateOptionsMenu(menu: Menu): Boolean {
    menuInflater.inflate(R.menu.menu_options, menu)
    return true
}
In this code, we are inflating the menu_options.xml file that we created earlier using the menuInflater object. The onCreateOptionsMenu() method returns a boolean value indicating whether the menu is visible or not.
Handle Menu Item Selections
Finally, you need to handle the menu item selections in your activity. To do this, you need to override the onOptionsItemSelected() method:
override fun onOptionsItemSelected(item: MenuItem): Boolean {
    when (item.itemId) {
        R.id.action_share -> {
            // Handle Share item selection
            return true
        }
        R.id.action_settings -> {
            // Handle Settings item selection
            return true
        }
        else -> return super.onOptionsItemSelected(item)
    }
}
In this code, we are checking the item ID of the selected menu item using the when expression. Depending on the selected item, we can perform the appropriate action.
For example, if the Share item is selected, we can display a share dialog using the Intent.ACTION_SEND action:
override fun onOptionsItemSelected(item: MenuItem): Boolean {
    when (item.itemId) {
        R.id.action_share -> {
            val shareIntent = Intent(Intent.ACTION_SEND)
            shareIntent.type = "text/plain"
            shareIntent.putExtra(Intent.EXTRA_TEXT, "Check out my app!")
            startActivity(Intent.createChooser(shareIntent, "Share via"))
            return true
        }
        R.id.action_settings -> {
            // Handle Settings item selection
            return true
        }
        else -> return super.onOptionsItemSelected(item)
    }
}
MainActivity.kt File
Here is the full code of MainActivity.kt. Go to app > java > com.example.optionmenu > MainActivity.kt and paste the following code.
package com.example.optionmenu

import androidx.appcompat.app.AppCompatActivity
import android.os.Bundle
import android.view.Menu
import android.view.MenuItem
import android.widget.Toast
import com.example.optionmenu.databinding.ActivityMainBinding

class MainActivity : AppCompatActivity() {
    private lateinit var binding: ActivityMainBinding
    override fun onCreate(savedInstanceState: Bundle?) {
        super.onCreate(savedInstanceState)
        binding = ActivityMainBinding.inflate(layoutInflater)
        setContentView(binding.root)
    }

    override fun onOptionsItemSelected(item: MenuItem): Boolean {
        return when (item.itemId) {
            R.id.action_share -> {
                Toast.makeText(this, "You clicked Share", Toast.LENGTH_LONG).show()
                true
            }
            R.id.action_settings -> {
                Toast.makeText(this, "You clicked Settings", Toast.LENGTH_LONG).show()
                true
            }
            else -> super.onOptionsItemSelected(item)
        }
    }

    override fun onCreateOptionsMenu(menu: Menu?): Boolean {
        menuInflater.inflate(R.menu.menu_options, menu)
        return super.onCreateOptionsMenu(menu)
    }
}
Similarly, if the Settings item is selected, we can open a new activity or display a dialog box to allow the user to change app settings.
activity_main.xml file
<?xml version="1.0" encoding="utf-8"?>
<androidx.coordinatorlayout.widget.CoordinatorLayout xmlns:android="http://schemas.android.com/apk/res/android"
    xmlns:tools="http://schemas.android.com/tools"
    android:layout_width="match_parent"
    android:layout_height="match_parent"
    tools:context=".MainActivity">

    <TextView
        android:layout_width="wrap_content"
        android:layout_height="wrap_content"
        android:layout_gravity="center"
        android:text="Click on menu item"
        android:textAppearance="?attr/textAppearanceTitleLarge" />
</androidx.coordinatorlayout.widget.CoordinatorLayout>
Testing Your App
Here is the output of the Options Menu project created using Kotlin in Android Studio. The image showcases a custom option menu with multiple items providing easy access to app features and enhancing user experience.

Conclusion
In this blog, we have walked you through the process of creating an option menu in Android using Kotlin with an example. By following these steps, you can create an option menu that provides users with easy access to various functions and actions in your Android app.
Remember that you can customize your options menu by adding or removing menu items, changing the titles and icons of the menu items, and handling menu item selections in different ways.
Creating an option menu in Android is a simple yet effective way to enhance the user experience of your app. With just a few lines of code, you can provide users with a convenient way to access app features and functions, making your app more user-friendly and efficient.
I hope this article helps you understand how to create an option menu in Android using Kotlin.
So, go ahead and try it out today!
