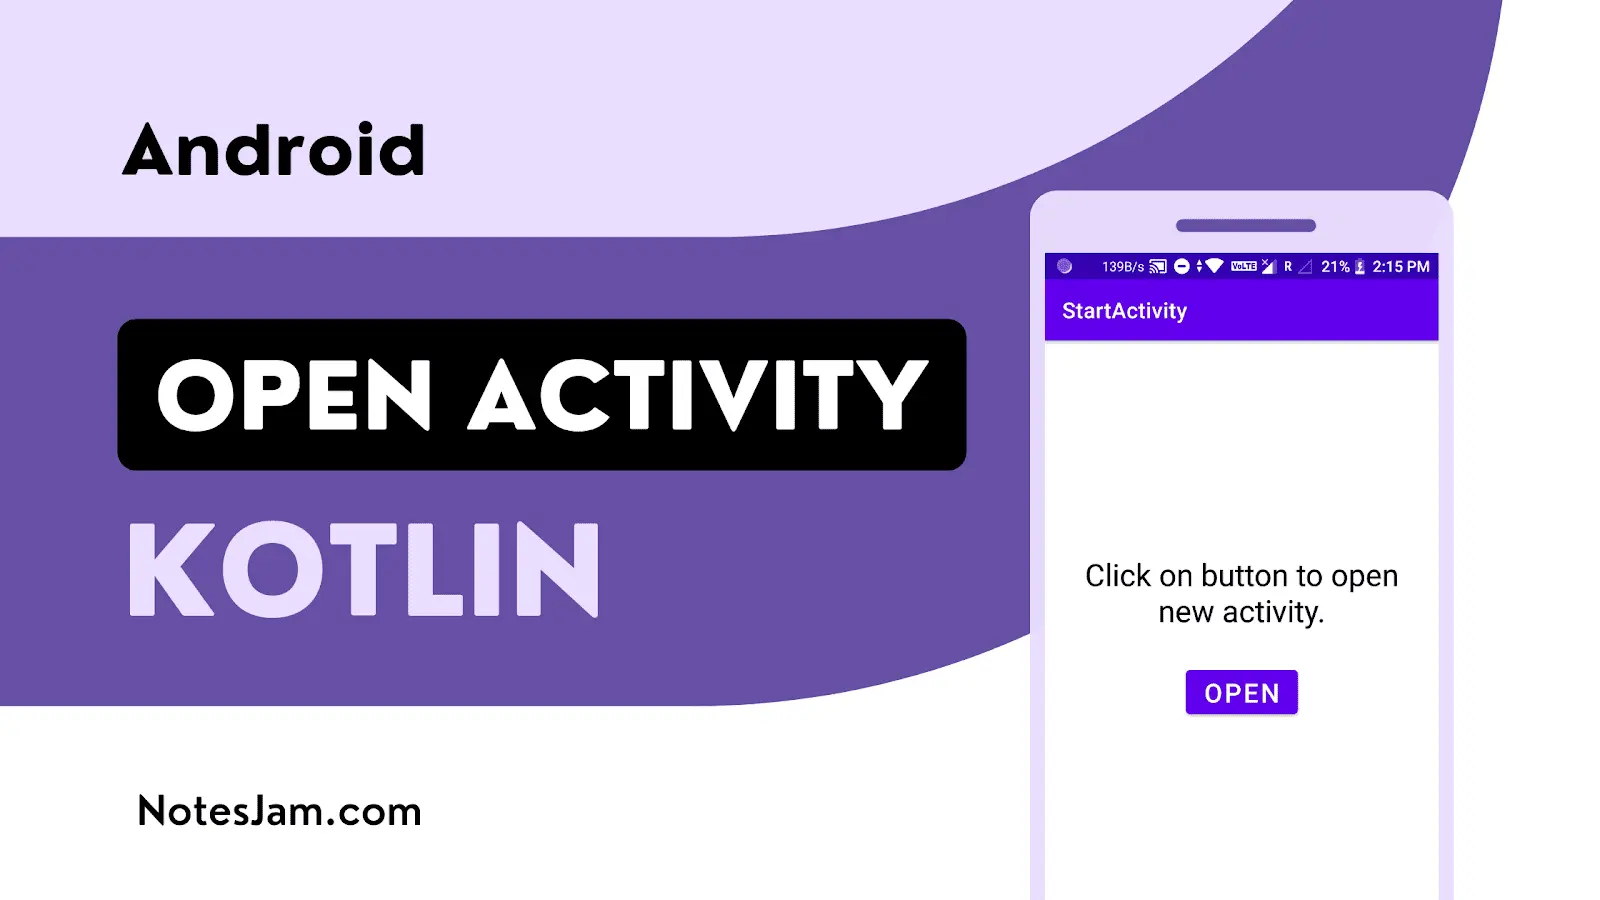
In Android development, it is common to open a new activity when a button is clicked. This can be achieved using Kotlin, a popular programming language for Android development.
In this article, we will explain how to open a new activity on button click using Kotlin, along with a detailed example.
Create Project
Open Android Studio and create a new project. After the Gradle build is successful, go to File > New > Activity > Empty Activity. Give the activity name NewActivity and Finish to create one more activity.
How to Create a New Project in Android Studio
Creating a New Activity
Before we can open a new activity on a button click, we first need to create the activity. To do this, follow these steps.
Right-click on the app folder in the project structure view, and select New -> Activity -> Empty Activity. Give the new activity the name NewActivity and click Finish.
Now that we have created the new activity, we can move on to opening it with a button click.
Opening the New Activity
To open the new activity on button click, we need to first define the button in the XML layout file, and then add a click listener to the button in the Kotlin code.
Defining the Button in the XML Layout File
To define the button in the XML layout file, go to app > resource > layout > activity_main.xml. Add a button and a supportive text view. Here is the final XML code of activity_main.xml.
<?xml version="1.0" encoding="utf-8"?>
<androidx.appcompat.widget.LinearLayoutCompat xmlns:android="http://schemas.android.com/apk/res/android"
    xmlns:tools="http://schemas.android.com/tools"
    android:layout_width="match_parent"
    android:layout_height="match_parent"
    android:gravity="center"
    android:orientation="vertical"
    tools:context=".MainActivity">

    <TextView
        android:id="@+id/supportText"
        android:layout_width="wrap_content"
        android:layout_height="wrap_content"
        android:layout_margin="30dp"
        android:gravity="center"
        android:text="Click on button to open new activity."
        android:textColor="@color/black"
        android:textSize="28sp" />

    <Button
        android:id="@+id/openButton"
        android:layout_width="wrap_content"
        android:layout_height="wrap_content"
        android:text="Open"
        android:textSize="24sp" />
</androidx.appcompat.widget.LinearLayoutCompat>
Here, we have given the button an ID of openButton and set its text to Open.
Now we are going to create an XML layout for the newly created activity. In the layout, we want to show a welcome text.
When the user opens the new activity on the button click, the welcome text will appear on the new screen. Let’s see how to do that.
Go to app > resource > layout > activity_new.xml. Add a text view. Here is the activity_new.xml. Copy the following code and paste it into the activity_new.xml file.
<?xml version="1.0" encoding="utf-8"?>
<androidx.appcompat.widget.LinearLayoutCompat xmlns:android="http://schemas.android.com/apk/res/android"
    xmlns:tools="http://schemas.android.com/tools"
    android:layout_width="match_parent"
    android:layout_height="match_parent"
    android:gravity="center"
    android:orientation="vertical"
    tools:context=".NewActivity">

    <TextView
        android:id="@+id/welcomeText"
        android:layout_width="wrap_content"
        android:layout_height="wrap_content"
        android:layout_margin="30dp"
        android:gravity="center"
        android:text="Welcome to NewActivity"
        android:textColor="@color/black"
        android:textSize="28sp" />
</androidx.appcompat.widget.LinearLayoutCompat>
Adding a Click Listener
To add a click listener to the button in the Kotlin code, first, we need to get a reference to the button using its ID. We can do this using the findViewById() method.
Then, we can add a click listener to the button using the setOnClickListener() method. Inside the click listener, we can create an intent to start the new activity using the Intent class and the startActivity() method.
Go to app > java > com.example.startactivity > MainActivity.kt and put the following code after initializing button.
// Open new activity on button click
openButton.setOnClickListener {
    val intent = Intent(this, NewActivity::class.java)
    startActivity(intent)
}
Here, we have first obtained a reference to the button using its ID “openButton”. Then, we added a click listener to the button using the setOnClickListener() method.
Inside the click listener, we have created an intent to start the new activity using the Intent class and the startActivity() method.
We have specified the context of the current activity using this, and the class of the new activity using NewActivity::class.java.
Here is the final Kotlin code MainActivity.kt
package com.example.startactivity

import android.content.Intent
import androidx.appcompat.app.AppCompatActivity
import android.os.Bundle
import android.widget.Button

class MainActivity : AppCompatActivity() {
    private lateinit var openButton: Button

    override fun onCreate(savedInstanceState: Bundle?) {
        super.onCreate(savedInstanceState)
        setContentView(R.layout.activity_main)
        openButton = findViewById(R.id.openButton)

        // Open new activity on button click
        openButton.setOnClickListener {
            val intent = Intent(this, NewActivity::class.java)
            startActivity(intent)
        }
    }
}
Here is the NewActivity.kt file
package com.example.startactivity

import androidx.appcompat.app.AppCompatActivity
import android.os.Bundle
import android.widget.TextView

class NewActivity : AppCompatActivity() {
    private lateinit var welcomeText: TextView

    override fun onCreate(savedInstanceState: Bundle?) {
        super.onCreate(savedInstanceState)
        setContentView(R.layout.activity_new)
        welcomeText = findViewById(R.id.welcomeText)
    }
}
Manifest Code
Check if your AndroidManifest.xml looks like the following.
<?xml version="1.0" encoding="utf-8"?>
<manifest xmlns:android="http://schemas.android.com/apk/res/android"
    xmlns:tools="http://schemas.android.com/tools"
    package="com.example.startactivity">

    <application
        android:allowBackup="true"
        android:dataExtractionRules="@xml/data_extraction_rules"
        android:fullBackupContent="@xml/backup_rules"
        android:icon="@mipmap/ic_launcher"
        android:label="@string/app_name"
        android:roundIcon="@mipmap/ic_launcher_round"
        android:supportsRtl="true"
        android:theme="@style/Theme.StartActivity"
        tools:targetApi="31">

        <activity
            android:name=".NewActivity"
            android:exported="false"
            android:label="NewActivity"
            android:parentActivityName=".MainActivity" />

        <activity
            android:name=".MainActivity"
            android:exported="true">

            <intent-filter>
                <action android:name="android.intent.action.MAIN" />

                <category android:name="android.intent.category.LAUNCHER" />
            </intent-filter>
        </activity>
    </application>
</manifest>
Output
To test the application, we need to run it on an Android device or emulator. When we click the button with the ID openButton, the new activity should open. Here is the final output.

In this article, we have explained how to open a new activity with a button click using Kotlin. We have first created the new activity and then defined the button in the XML layout file.
Finally, we have added a click listener to the button in the Kotlin code and opened the new activity using an intent.
By following these steps, we can easily open a new activity with a button click in our Android application.
I hope this article helps you understand how to open a new activity with a button click in Android using Kotlin.
So, go ahead and try it out today!

Leave a Reply